* VBNET 폴더 락 설정 및 해제 - 권한 설정 및 해제 예제...
테스트 환경
- 윈도우7 64 Bit
- Visual Studio 2008 닷넷 프레임 워크 3.5

전체 소스 코드
Form1.vb
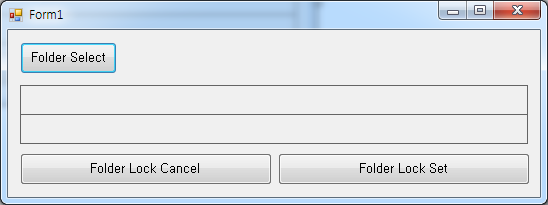
Public Class Form1
Private Sub button1_Click(ByVal sender As System.Object, ByVal e As System.EventArgs) Handles button1.Click
'Folder Open
Dim fbd As FolderBrowserDialog = New FolderBrowserDialog
If (fbd.ShowDialog() = Windows.Forms.DialogResult.OK) Then
label1.Text = fbd.SelectedPath
End If
End Sub
Private Sub button3_Click(ByVal sender As System.Object, ByVal e As System.EventArgs) Handles button3.Click
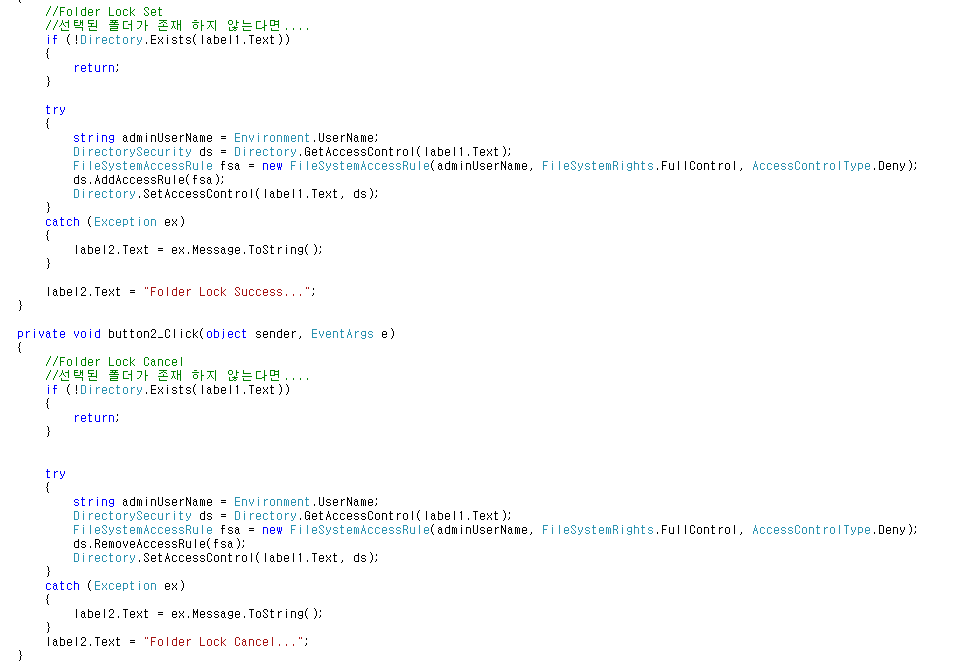
'Folder Lock Set
'선택된 폴더가 존재 하지 않으면...
If (Not System.IO.Directory.Exists(label1.Text)) Then
Return
End If
Try
Dim strAdminUserName As String = Environment.UserName
Dim ds As System.Security.AccessControl.DirectorySecurity = System.IO.Directory.GetAccessControl(label1.Text)
Dim fsa As System.Security.AccessControl.FileSystemAccessRule = New System.Security.AccessControl.FileSystemAccessRule(strAdminUserName, _
Security.AccessControl.FileSystemRights.FullControl, _
Security.AccessControl.AccessControlType.Deny)
ds.AddAccessRule(fsa)
System.IO.Directory.SetAccessControl(label1.Text, ds)
Catch ex As Exception
label2.Text = ex.Message.ToString()
End Try
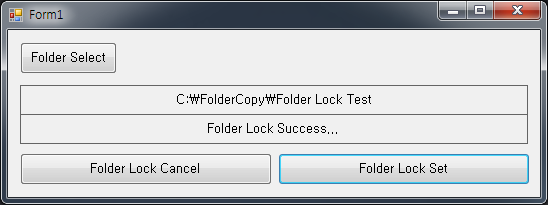
label2.Text = "Folder Lock Success..."
End Sub
Private Sub button2_Click(ByVal sender As System.Object, ByVal e As System.EventArgs) Handles button2.Click
'Folder Lock Cancel
'선택된 폴더가 존재 하지 않으면...
If (Not System.IO.Directory.Exists(label1.Text)) Then
Return
End If
Try
Dim strAdminUserName As String = Environment.UserName
Dim ds As System.Security.AccessControl.DirectorySecurity = System.IO.Directory.GetAccessControl(label1.Text)
Dim fsa As System.Security.AccessControl.FileSystemAccessRule = New System.Security.AccessControl.FileSystemAccessRule(strAdminUserName, _
Security.AccessControl.FileSystemRights.FullControl, _
Security.AccessControl.AccessControlType.Deny)
ds.RemoveAccessRule(fsa)
System.IO.Directory.SetAccessControl(label1.Text, ds)
Catch ex As Exception
label2.Text = ex.Message.ToString()
End Try
label2.Text = "Folder Lock Cancel..."
End Sub
End Class

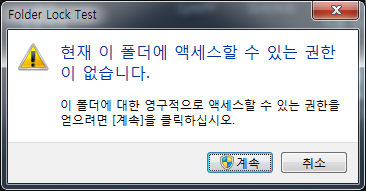
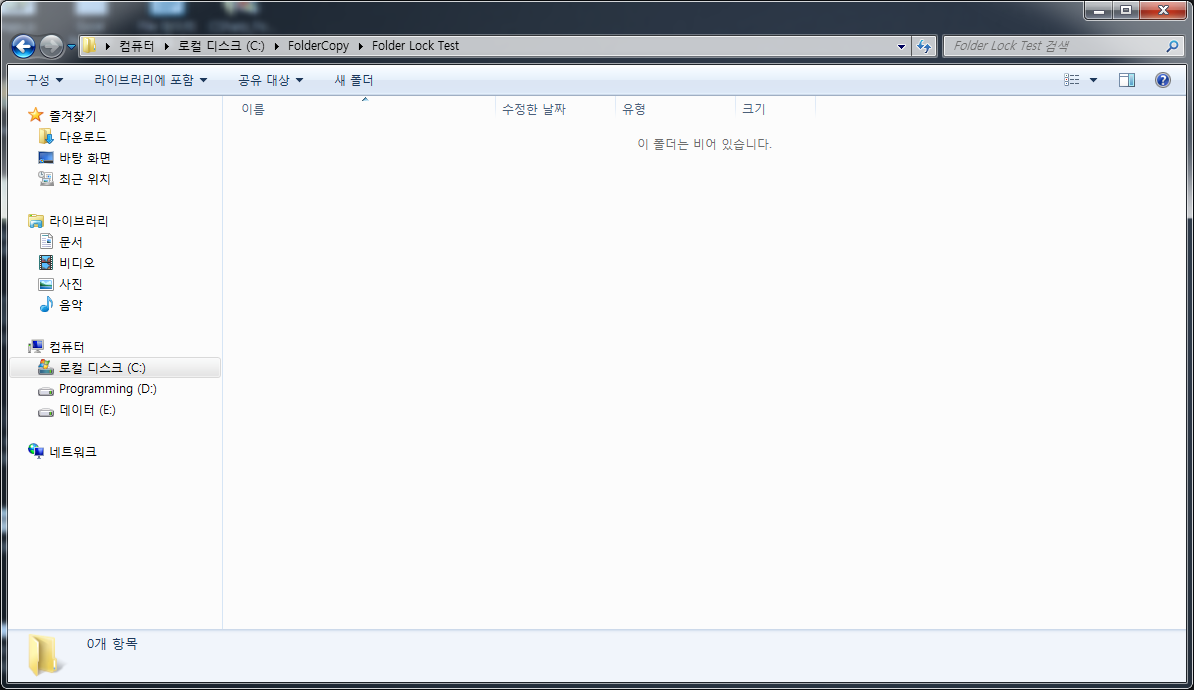
* 결과 화면


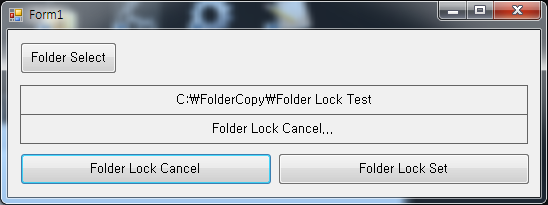

위 그림과 같이 해당 폴더 권한을 설정 하고 접근 하면 권한이 없다고 나오고 해제 하고 접근 하게 되면 해당 폴더에
접근 할 수 있게 됩니다.
https://kdsoft-zeros.tistory.com/87
[C#] 폴더 락 설정 및 해제 (Folder Lock) - 권한 설정 및 해제
* C# 폴더 락 설정 및 해제 - 권한 설정 및 해제 예제... 테스트 환경 - 윈도우7 64 Bit - Visual Studio 2008 닷넷 프레임 워크 3.5 전체 소스 코드 Form1.cs using System; using System.Collections.Generic;..
kdsoft-zeros.tistory.com
'VB.NET Programming' 카테고리의 다른 글
| [VBNET] 폼 (Form) 사이즈 고정(Size fix) (0) | 2019.11.23 |
|---|---|
| [VBNET] 32bit, 64bit 운영체제 체크 하기 (0) | 2019.11.22 |
| [VBNET] 날씨 (Weather) 정보 가져오기 (0) | 2019.11.15 |
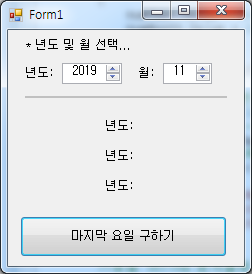
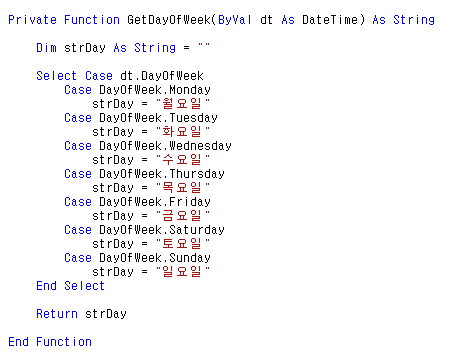
| [VBNET] DateTime 클래스 : 현재 선택된 달의 마지막 요일 및 날짜 구하기 (0) | 2019.11.10 |
| [VBNET] string 을 int 및 double 형으로 변환 하기, string null 체크 (0) | 2019.11.06 |